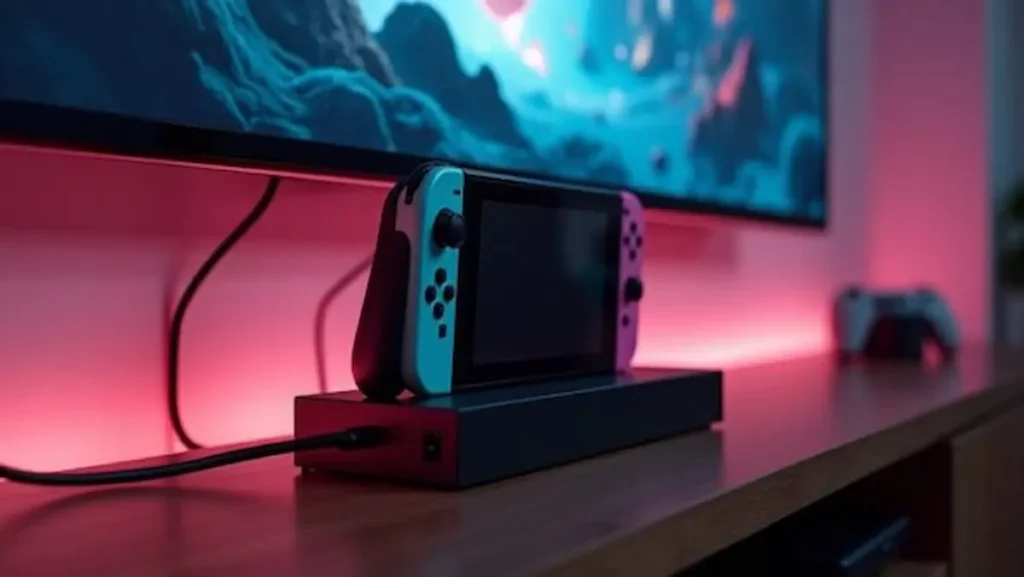
Want to play your Nintendo Switch on the big screen? Whether you’re gearing up for a multiplayer battle with friends or simply want a more immersive experience for your favorite games, connecting your Nintendo Switch to a TV is surprisingly simple once you know the steps. With just a few cables, your Switch dock, and the correct TV settings, you can display your games in vibrant, full-screen mode.
Still, many players overlook one small but crucial detail—proper setup of the dock and cables—which can make the difference between a flawless connection and a frustrating black screen. This complete guide explains every step clearly, highlights common mistakes, and helps you troubleshoot any issues that may appear along the way.
Preparing your Nintendo Switch for TV connection
Before connecting your Nintendo Switch to your television, it’s essential to make sure the console has enough power. While the Switch charges automatically once it’s docked, starting with a console that is fully charged or connected to the official Nintendo AC adapter ensures a stable TV display.
A stable power source prevents sudden shutdowns or interruptions during gameplay, especially when system updates or data transfers occur. You’ll also want to remove any accessories attached to the Switch that might obstruct docking—such as bulky cases or third-party grips that add thickness to the console. These accessories can prevent the Switch from sitting correctly on the dock’s internal connector.
This quick preparation step sets you up for a smooth transition from handheld mode to TV mode and helps avoid preventable issues later.
Locating the Nintendo Switch dock and its ports
Even though the Nintendo Switch is a portable console, TV play requires the Nintendo Switch Dock. The dock acts as the bridge between the console and the TV, handling video output, charging, and accessory connections.
For the best results, place the dock on a stable, flat, and well-ventilated surface. Good airflow helps prevent overheating—especially during long gaming sessions or when playing graphically demanding titles. Avoid placing the dock too close to walls, stacked consoles, or enclosed shelves where heat can build up.
Next, identify the essential ports located inside the rear panel of the dock:
- USB-C power input – connects to the official Nintendo AC adapter
- HDMI OUT port – sends video and audio to your TV
- USB ports – used for accessories such as wired controllers, LAN adapters, or charging certain devices
Knowing where these ports are located makes the entire setup process simple and helps you check for potential issues if something isn’t working as expected.
Connecting the Switch dock to your television
Once your dock is positioned correctly, it’s time to connect it to your television. This is the part where most of the essential setup happens.
- Open the dock’s back cover to reveal the cable ports.
- Insert the AC adapter into the top USB-C port, then plug the other end into a wall outlet.
- Connect an HDMI cable to the HDMI OUT port. Use a quality cable—cheap or damaged HDMI cables can cause signal problems.
- Plug the other end of the HDMI cable into one of the HDMI inputs on your TV. Make a mental note of which port you used (HDMI 1, HDMI 2, etc.).
- Close the back cover to keep cables tidy and prevent them from disconnecting easily.
Placing the dock close to the TV helps maintain a stable signal and makes it easier to reach the dock whenever you need to insert or remove the console. Keeping the cables organized also makes troubleshooting simpler in case anything goes wrong.
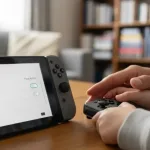
Inserting the Nintendo Switch console into the dock
With the dock connected to the TV, the next step is docking your console. This is where many players unintentionally misalign the console, leading to no video output.
Hold the Nintendo Switch with the screen facing forward—toward the front panel of the dock—and gently slide it in. You should feel the console naturally lower onto the internal USB-C connector at the bottom. Avoid forcing the device; a smooth fit means the connector is aligned properly.
If done correctly:
- The screen will turn off,
- The console will begin charging,
- The video signal will be sent to the TV.
If the Switch screen stays on while docked, it usually means the console isn’t making full contact with the dock connector, or the dock lacks power. Double-check alignment and connections before moving on.
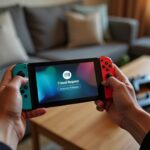
Switching your TV input to the correct HDMI port
This step is simple but often overlooked. After your Nintendo Switch is docked and charging, your TV needs to know which HDMI source to display.
Using your TV remote:
- Locate the Input, Source, or AV button.
- Browse through the HDMI inputs until you find the one connected to your Switch dock.
- Once selected, you should see the Nintendo Switch home screen appear.
If the display doesn’t appear immediately, wait a few seconds—some TVs take time to detect the signal. Choosing the correct HDMI input is essential for proper display and prevents confusion when you have multiple devices connected to your television.
Troubleshooting common connection issues
Even though connecting a Nintendo Switch to a TV is simple, occasional issues can arise. Most are easy to fix with a few quick checks.
No signal or black screen
- Make sure the HDMI cable is fully inserted on both ends.
- Try a different HDMI cable—faulty ones are extremely common.
- Select the correct HDMI input on your TV.
- Confirm the console is seated properly in the dock.
Switch screen stays on while docked
- The console may not be touching the USB-C connector.
- Remove cases or grips that block docking.
- Check that the AC adapter is plugged into both the dock and the wall.
Audio issues
- Ensure your TV audio output is set correctly.
- Try switching audio settings in the Switch system menu.
- Test another HDMI port.
Still not working?
- Restart both the TV and Nintendo Switch.
- Unplug the dock’s AC adapter for 30 seconds.
- Try connecting the dock to another TV to rule out hardware problems.
Most problems resolve quickly, letting you get back to gaming without frustration.
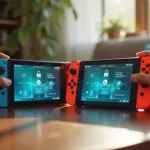
Enhancing your gaming experience on TV
Playing the Nintendo Switch on TV mode transforms your gaming experience in many ways. A larger display makes the visuals clearer, reveals more details, and creates a more cinematic feel—especially for games like The Legend of Zelda: Breath of the Wild, Mario Kart 8 Deluxe, or Splatoon 3.
To make your TV gameplay even better:
- Adjust your TV picture settings for brightness, sharpness, and color.
- Use external speakers or a soundbar for richer audio.
- Position your Switch controllers comfortably to avoid fatigue during long play sessions.
- Ensure good ventilation around the dock to prevent overheating.
These simple improvements can make your Nintendo Switch TV mode feel more immersive and enjoyable.
Conclusion
Connecting your Nintendo Switch to a TV is easy when you follow the correct steps. With the right cables, a properly set-up dock, and the correct TV input selected, you can enjoy your favorite games in TV mode with a bigger, clearer view. Whether you’re playing couch co-op, diving into long adventures, or hosting game nights, TV mode enhances the experience and lets you enjoy your Nintendo Switch to the fullest.
Amanda Torati is a linguist and postgraduate researcher who specializes in the intersection of storytelling and interactive media. With a deep fascination for the gaming ecosystem, she focuses on deconstructing game narratives and technical trends to make them accessible to players of all levels. At ABWaves Game, Amanda combines her academic background with in-depth research to deliver reviews and guides that are both precise and engaging, ensuring readers stay informed in a fast-paced digital world.